
ASP.NET MVC UserControls Start to Finish
The ASP.NET MVC framework ships with a number of Visual Studio project and item templates to ease our development tasks. One of these templates is a UserControl built specifically for the MVC framework. We are going to walkthrough building a re-usable Header control that can be added to the top of related pages (in this specific case, this Control will be added to all Account pages). If you want to get technical, I suppose this may be a good candidate for the new Nested Master Page support in Visual Studio 2008. But for our purposes, this will do just fine.
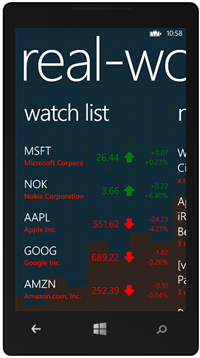
Our end-result will be a control that looks like this, and can be added very easily to our View Pages to provide a consistent navigation element.

Create the Control
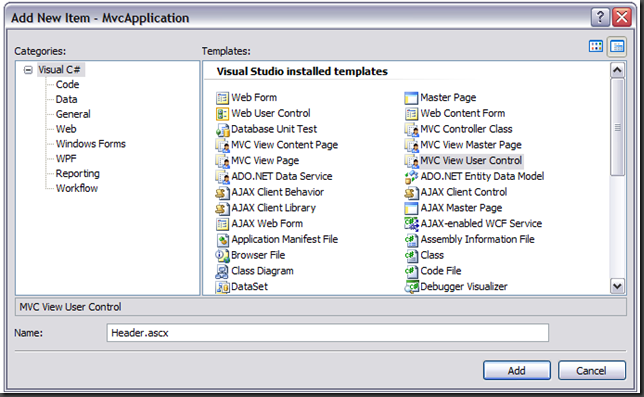
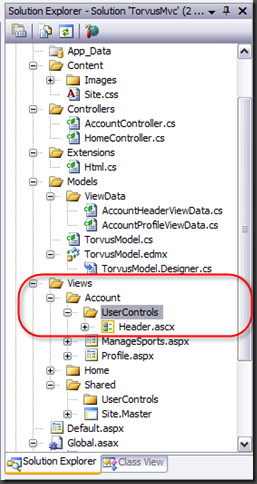
First let’s add a new MVC View User Control control to our Views folder in the solution.
Once our control is added, we need to make a few very small changes to the CodeBehind file. The MVC framework provides us the flexibility to use a strongly-typed generic version of the ViewUserControl class, much like the ViewPage class. The difference between ViewUserControl and ViewUserControl<T> is that in the generic version you explicitly define the Type of ViewData you will be passing to your UserControl. If you choose to use the non-generic version the ViewData property will be a simple dictionary of objects, instead of strongly-typed properties.
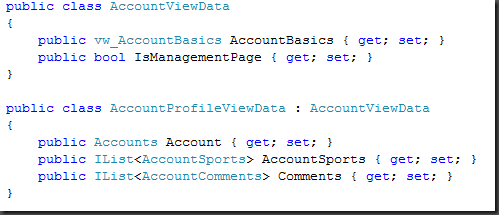
Lets go ahead and tell our UserControl we will be passing it an instance of the AccountViewData class I created. I also added a simple automatic property called SelectedItem that we will use to specify which menu item should be “selected.” We will use this property in a future post.

So here’s the markup for our control. You’ll notice that was can access the ViewData property the same way we access it from a Page instance.
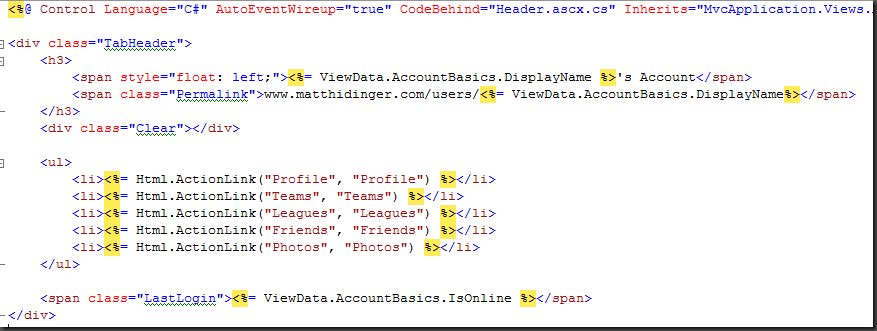
But where does the ViewData come from?
Well, let me first say, I am not an expert on this subject yet. Here is what I know.
- It Just Works if you have a ViewUserControl<T> and a ViewPage<T> where T is the same type for both!
- For example, if you have ProfilePage<AccountViewData>, TeamPage<AccountViewData>, FriendsPage<AccountViewData>, your ViewUserControl<AccountViewData> will have its ViewData property automatically populated by the MVC framework! This might not always be ideal however, as it essentially couples your user control to the page(s), as well as gives the control access to ALL data that the page has.
- An MVC UserControl also exposes a public ViewDataKey property that the page can use to specify a subset of its ViewData that it should forward to the Control. I’ll try and elaborate more on this later.
- The MVCToolkit currently has an overloaded Html.RenderUserControl() method that allows you to specify custom ViewData, as well as assign any properties to the control. This is the method I will be using for the Header control in this walkthrough.
I will possibly post more on this subject once I have more time and experiment with it.
Let’s Add the Control to our Page

Our first page to use the control will be the Account Profile page. It will be using the generic version of ViewPage, and will be accepting an instance of type AccountProfileViewData, which is defined for your reference above. Something worth noting: I am experimenting with standard inheritance in my ViewData containers. The thought process is simple, AccountViewData will expose the properties that are common to all of my Account-related pages, where the individual Pages themselves will typically have a derived Account__Page__ViewData class to add any additional data. The careful observer may have noticed that my UserControl is accepting the parent type AccountViewData, whereas my Profile page is actually rendering using data from the derived AccountProfileViewData. This will come in handy later.
#### Method 1 - Drag the UserControl onto the designer surface
This is the method we typically used in WebForms development. Be alert though, Visual Studio will add a <form runat=”server”> when you do this. This should be removed, the UserControl will still function.

One difference here, as mentioned a moment ago. An MVC UserControl allows us to specify a ViewDataKey. I won’t be using this method right now, but I found a good article on the subject here.

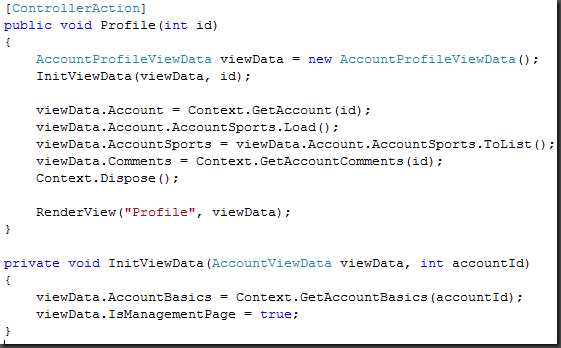
Take a look at the Controller Action below. We are creating an instance of AccountProfileViewData, which derives from AccountViewData, and passing it to the RenderView method. This makes perfect sense, since our ProfilePage<AccountProfileViewData> expects this! But what about our Header<AccountViewData> control that is expecting AccountViewData? Simply enough, the MVC framework takes care of it for us! Because of standard IS-A OO relationship, our AccountProfileViewData object IS-A AccountViewData object. Our UserControl works just fine with this! Perfect, our User Control only has access to the data it needs, the Page has access to all the data it needs, and everyone is happy.
Method 2 - Html.RenderUserControl

This is simply another method for adding a UserControl to your page. That null parameter you see in there allows you to pass in any controlData that the control expects. So your page would be responsible for sending it the proper data the control requires. I used null this time because the MVC framework passed my data for me because of the inheritance hierarchy I used. (See above). Also note, you can assign any number of Properties that the UserControl expects using anonymous-type syntax.
I apologize this post was all over the place. If anyone reading this has any questions by all means let me know and I will elaborate further.


Leave a Comment